How to Measure Windows for Replacement — DIY Guide
Accurate window measurements are the foundation of a successful replacement project. Wrong measurements mean wrong-sized frames, expensive re-fabrication, and typhoon leaks. Here is the exact step-by-step process professional installers use to measure Philippine concrete openings.
When requesting an initial quotation from a glass and aluminum fabricator in the Philippines, you will be asked to provide your own "rough measurements." While the installer will always conduct a final site visit before cutting the glass, providing accurate initial measurements ensures your quotation is realistic and prevents nasty price surprises later. Measuring a concrete masonry opening is not as simple as taking a single width and height. Because Philippine concrete block construction is notoriously uneven, you must use a specific multi-point measuring technique to ensure the rigid aluminum frame will actually fit into the opening.
The Required Toolkit
Before you begin, gather the right tools. Attempting to measure a window with the wrong equipment is the first point of failure.
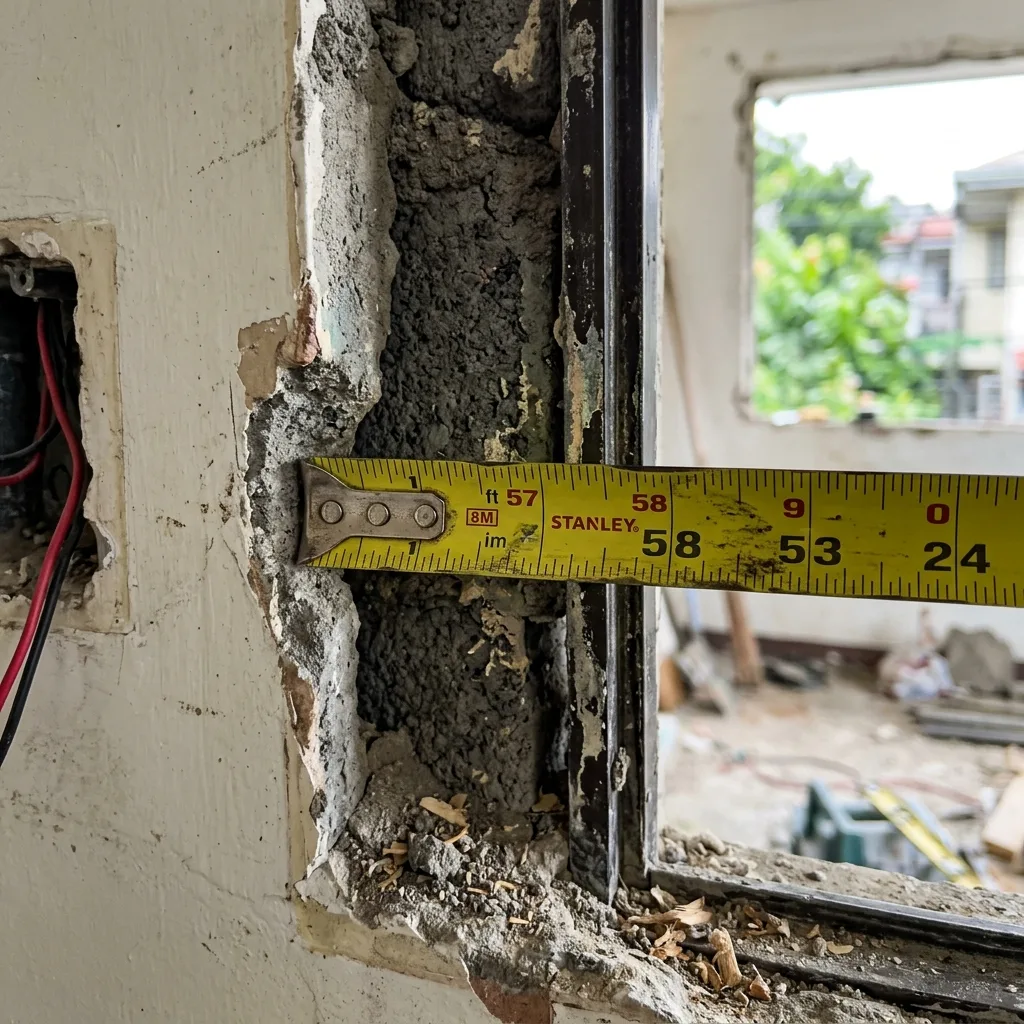
Steel tape measure (5 to 8 meters) — This is mandatory. Never use a fiberglass surveyor's tape or a tailor's fabric measuring tape. Fabric tapes stretch significantly under tension, and a 10mm error will ruin a window installation.
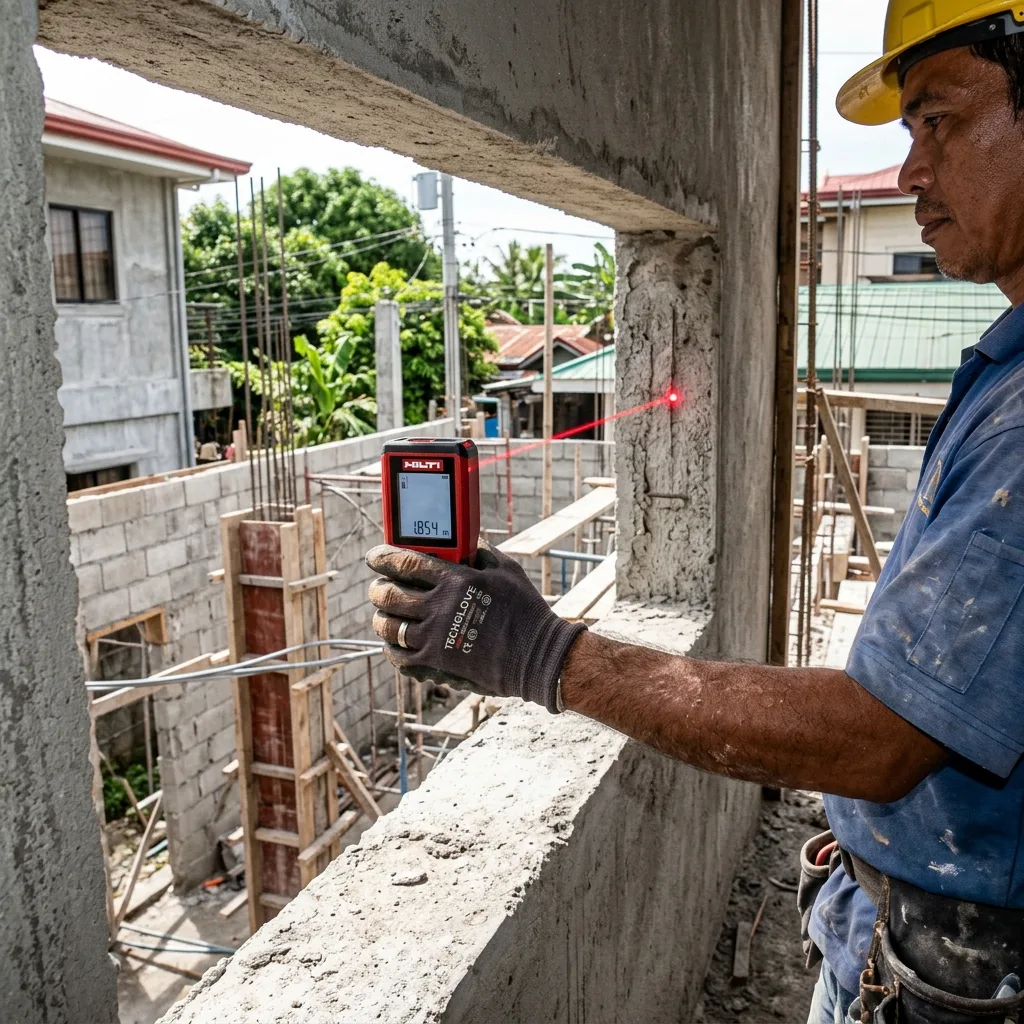
Laser distance meter (Optional but highly recommended) — Professional installers use these. They bounce a red laser across the opening to provide millimeter-perfect accuracy instantly, eliminating the sag associated with stretching a long steel tape measure across a 3-meter opening.
Notepad and pencil — Do not try to memorize the numbers. Sketch a rough square for each window opening (label them Window 1, Window 2, etc.) and record the dimensions directly onto your sketch.
Step ladder — For safely reaching the top corners of large openings. Do not balance on chairs or buckets.
Spirit level (60cm minimum) — To check if the concrete sill is level and the side walls are plumb (perfectly vertical). This is crucial in older houses where foundation settling may have shifted the concrete.
Where to Measure: Frame vs. Rough Opening
This is where 90% of DIY measurement errors occur. You must understand the difference between the existing window frame and the structural opening.
Scenario A: Replacing Existing Windows
If you are tearing out old jalousie or sliding windows and putting in new ones, you must measure the Rough Opening. This is the hard concrete or masonry wall behind the current aluminum frame. Do not measure from the inside edge of the old aluminum frame to the other inside edge. If you do, you will order a new window that is far too small. You must measure from the concrete wall on the left to the concrete wall on the right. This often requires measuring from the exterior of the house where the concrete meets the frame, or carefully pulling back interior wooden trim (architraves) to see the actual block wall.
Scenario B: New Construction (No Existing Windows)
If the house is newly built and there are just empty rectangular holes in the concrete blocks, the job is easier. You are measuring the clear, plastered concrete opening directly. Ensure the plastering and finishing are complete before taking final measurements; a thick coat of palitada (cement plaster) can shrink an opening by 15mm to 25mm.
The Three Critical Measurements Technique
Because concrete block construction in the Philippines is rarely perfectly square, you cannot take just one width measurement and one height measurement. The opening might be 1200mm wide at the bottom, but due to sloppy plastering, only 1185mm wide at the top. If you only measured the bottom and ordered a 1190mm wide frame, it would not fit into the top of the opening without a masonry grinder.
You must record six numbers for every single window opening:
1. Width: Measure at three points.
Take your tape measure horizontally across the opening. Measure the width at the very top of the opening, across the absolute middle, and at the very bottom. Write down all three numbers.
The Rule: The smallest of these three numbers is your controlling width. The new rigid aluminum frame must be able to slide through the narrowest pinch point of the uneven concrete.
2. Height: Measure at three points.
Take your tape measure vertically. Measure the height on the far left side, straight down the center, and on the far right side. Write down all three numbers.
The Rule: Again, the smallest of these three numbers is your controlling height.
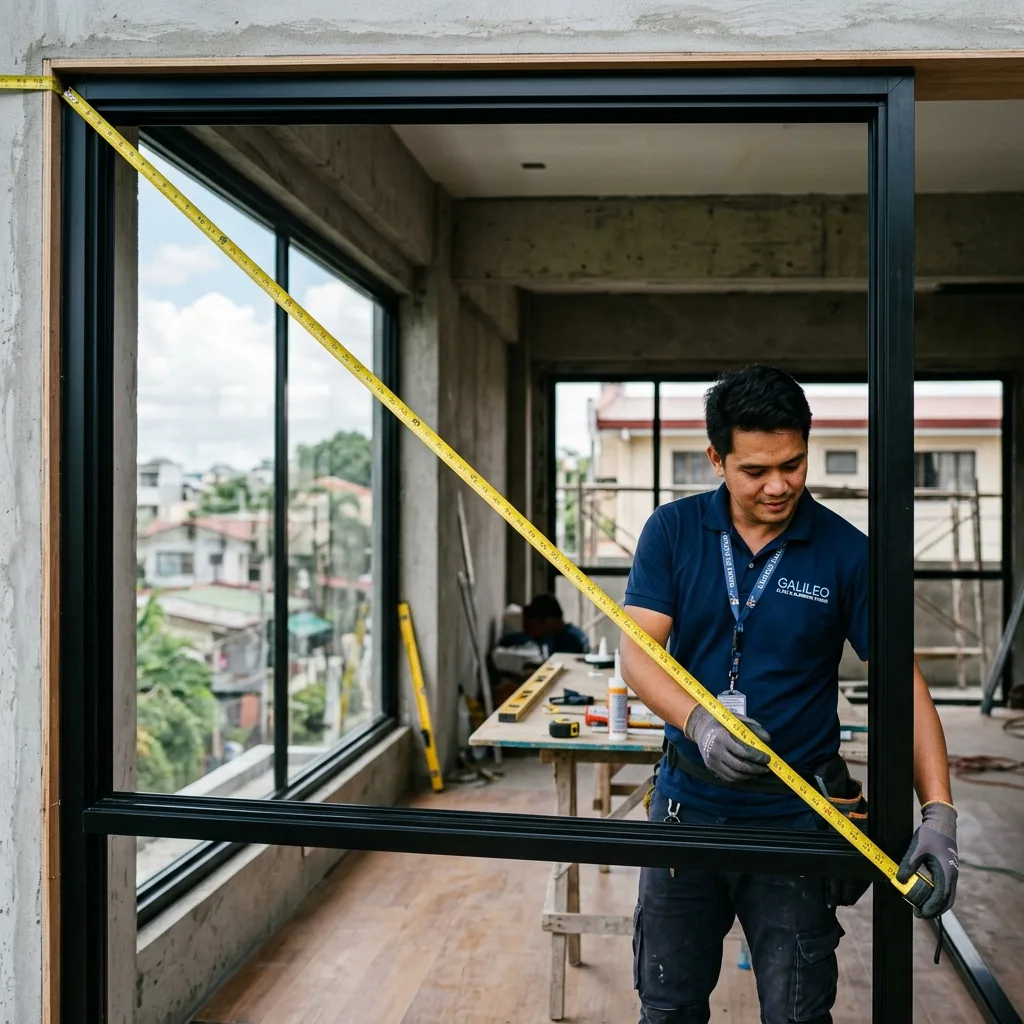
Checking for Square (The Diagonal Test)
Even if the width and height are consistent, the opening itself might be a parallelogram (leaning to one side) rather than a true rectangle. A perfectly square, rigid aluminum window will not fit into a skewed parallelogram opening without massive, ugly sealant gaps.
To check if the concrete opening is square, measure the diagonals. Measure from the top-left corner down to the bottom-right corner. Then measure from the top-right corner down to the bottom-left corner.
If the two diagonal numbers are exactly the same, the opening is perfectly square. If the difference between the two diagonals is greater than 10mm, the opening is significantly out-of-square. You must inform your fabricator about this so they can adjust the deduction tolerance, or you will need to hire a mason to chip the concrete and correct the opening before the new window is installed.
Understanding the "Installation Deduction"
You do not want a window frame that is the exact same size as the concrete opening. If the opening is exactly 1200mm x 1200mm, an aluminum frame that is 1200mm x 1200mm will not fit because of friction and minor concrete bumps.
Professional fabricators apply an "Installation Deduction" (also known as a clearance gap). Typically, they will subtract 5mm to 10mm from the smallest width and height measurements you provided. This creates a 2.5mm to 5mm gap completely around the perimeter of the new window. This gap allows the installers to slide the window in easily, use plastic shims to make the window perfectly level even if the concrete is crooked, and provides a channel to pump in the structural silicone sealant that waterproofs the joint against typhoons. Note: Always provide the fabricator with the actual opening measurements, not the deduced measurements. Let the professional calculate the deduction.
Common DIY Measurement Mistakes
| The Mistake | The Consequence | The Professional Fix |
|---|---|---|
| Measuring the inside of the old frame instead of the rough concrete opening. | The new frame is fabricated far too small. It will fall straight through the hole or require massive, ugly wooden blocks to secure it. | Remove interior trim to see the actual concrete edge, or measure from the exterior where the frame meets the cement. |
| Taking only one width and one height measurement right in the middle. | If the corners are pinched due to sloppy plastering, the rigid new frame will get stuck halfway into the opening. | Always take three widths (top, center, bottom) and three heights (left, center, right). Use the smallest numbers. |
| Measuring in feet/inches and converting to metric on a calculator. | Rounding errors compound rapidly. A 1/8 inch rounding error is 3.17mm, which can ruin a tight tolerance installation. | Measure directly in millimeters (mm) on your tape. All Philippine aluminum extrusion fabrication is calculated in millimeters. |
| Assuming all windows in a room are exactly the same size because they look identical. | Masonry construction varies. One window might be 1200mm, the next one over might be 1185mm. | Measure every single window individually and label them on your sketch (e.g., Bedroom 1-A, Bedroom 1-B). |
| Forgetting to measure the sill height from the finished floor. | If installing an awning or casement window, the handle might end up too high to reach comfortably. | Always record the height from the finished interior floor up to the bottom edge of the window opening. |
When to Call for a Professional Laser Measurement
Your DIY tape measurements are excellent and entirely sufficient for getting preliminary quotations, planning your renovation budget, and understanding the scope of your project. However, final fabrication measurements should always be taken by the installation company's project engineer.
When you sign a contract with GlassInstallerPH, we send an engineer with a calibrated Leica laser distance meter to re-measure every single opening. Our lasers are accurate to 1.0mm over a 50-meter distance — vastly superior to the 3mm to 5mm sag-error common with long steel tapes. More importantly, the engineer assesses the structural integrity of the concrete, checks for rebar obstructions, evaluates the waterproofing requirements, and takes legal responsibility for the window fitting perfectly.
If you are ready to move beyond estimates, simply send us your rough DIY measurements via our contact form, and we will schedule a professional site visit to verify the dimensions and provide a guaranteed final fabrication contract.
Ready for Professional Measurements?
We provide free site visits in Metro Manila and Cebu. Our engineers use laser meters to ensure your new windows fit perfectly and seal tightly against typhoons.